Gallery 2 - On Paper

Stormy
40 x 50 cm white mount
£275

Clearing Skies
40 x 50 cm white mount
£275
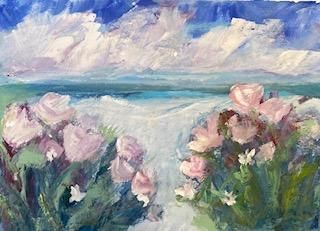
Spring Tide
30 x 40 cm White Mount
£275
Wintery River (Thames)
40 x 50 cm white mount
£275

A Walk in the Park 40 x 30 cm White Mount
£275
Bella Italia
25 x 40 cm Mount
£175
Cliffs full of Daisies
30 x 40 cm White Mount
£250
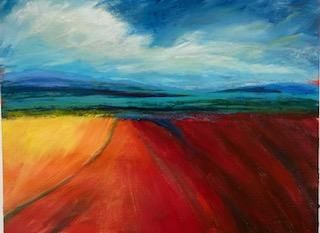
The Last Field
40 x 50 cm White Mount
£275
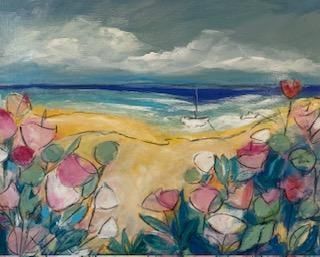
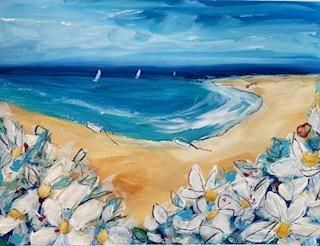
Spring Beach
40 x 50 cm White Mount
£275

Sandy Bay
40 x 50 cm White Mount
£275

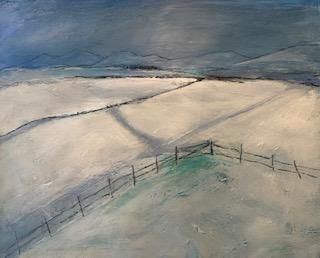
Winters Day
40 x 50 cm White Mount
£275
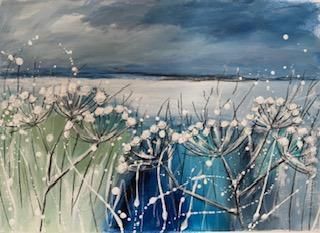
A Sprinkling of Snow
40 x 50 cm
£275

A La Votre!
40 x 50 cm white mount
£275

Orchard
40 x 50 cm white mount
£275

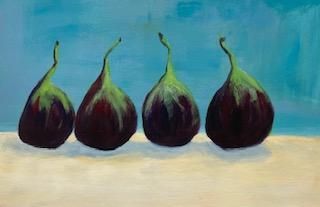
Pears and the Lake
30 x 40 cm White Mount
£275

Flowers in a Glass White Mount
30 x 20 cm approx
£225

Anemones in Enamel Jug
30 x 20 cm approx
£225

40 x 50 cm